
So, I like to make sure that I have all of my ingredients weighed out and ready for action. Making soap is fairly simple process, but it does require precision in measurements. Too much lye, and you could end up with a harsh, brittle bar of soap that is not even able to be used. I have yet to have a soap that is lye heavy, knock-on-wood. I've heard that one way to be sure is the "zap test". The soaper will touch their tongue to a bar of soap. If your tongue feels like you licked a battery, your soap is lye heavy. Crazy right!


Once everything is ready. I suit up in my gloves and safety goggles (sorry no picture), and I add my lye to my water. The first time I mixed my lye water I was pleasantly surprised that my kitchen didn't explode :). The lye reacts with the water and gets very hot. Now comes the part of waiting for the lye to cool down. I'm still learning what temperatures I prefer to soap at. Once the lye is cool enough (so far I try to keep it between 95-105), I add the lye water to my oils. I get out my stick blender and start to pulse it.
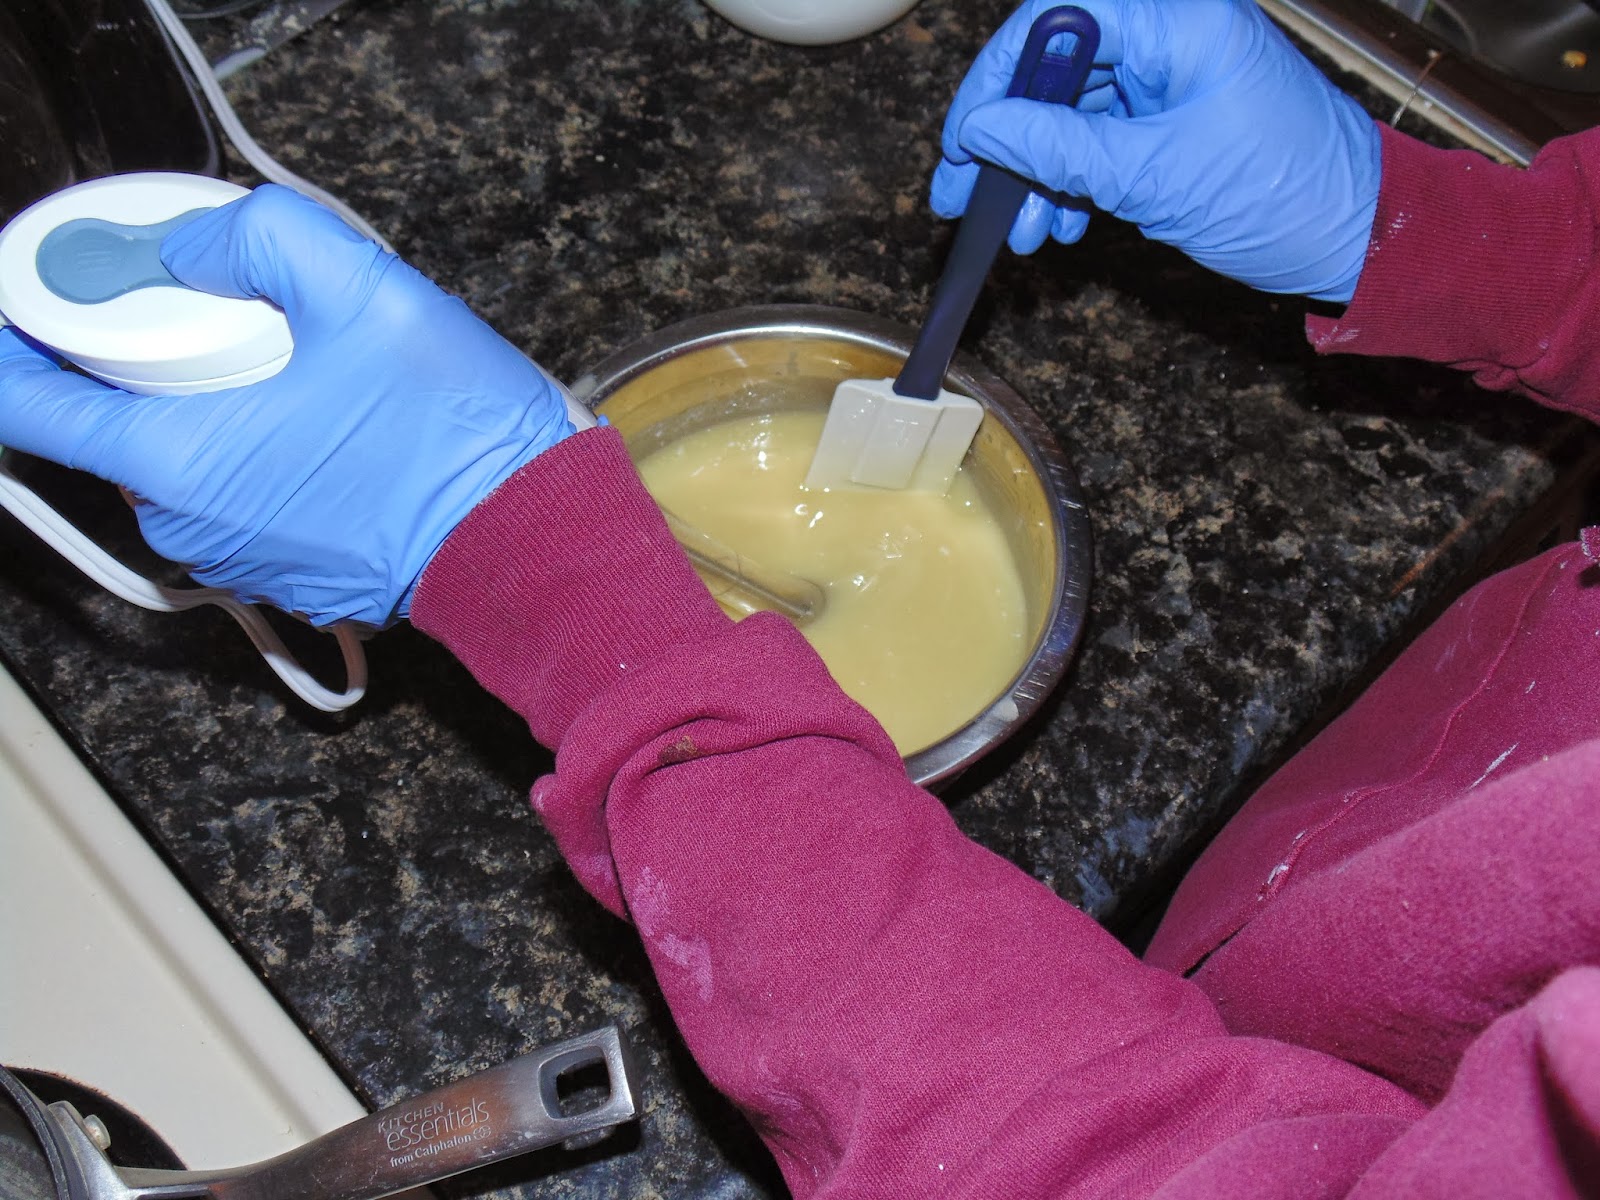
This is the cool part. I love watching the oils come to trace. The mixture changes from a separated mixture to a more uniform mixture and starts to thicken. Trace can be from light to heavy. Anywhere from the consistency of a melted milk shake to thick pudding. Once trace is reached, your soap (because that's what it is now) is ready to be colored and scented.


This is when things get fun. Sometimes at this point funky things happen, like the fragrance oil can make your soap set up too much to even pour (that's a story for another post). If your soap behaves, there are countless designs you could make. The sky's the limit. So you grab your mold and pour and swirl and have a good time.


Once the mold is filled you can either cover it and insulate it, or you can choose to leave it uncovered, or even throw it in the fridge depending on if you want your soap to gel. Now gelling is when the soap continues to heat up in the mold and turns almost transparent and more liquid for a little while before it finally sets. To me, gelled soap seems harder and smoother and shinier. Gelling soap usually results in more intense colors as well. Ungelled soap seems creamier and takes longer to set up and get out of the mold. Like I've said before, I lean towards to texture of gelled soap, but I like the softer colors of ungelled. Your soap can be unmolded and cut within a couple of days. The soap needs to cure for 4-6 weeks. Curing helps the excess water to evaporate and produces a nice mild bar of soap. So that is my "dummies guide to soap making"! Thanks for bearing with me :). And thank you, Rich for taking pictures. I'm not talented enough to do both at once!
Melissa, you amaze me. You've learned so much about this whole process in such a short time. I can't wait to see where this all takes you. And no, my eyes don't glaze over when you're telling me about every new process. I find it fascinating! ~Mom
ReplyDeleteThat is cute lol
ReplyDelete